Ergonomics & Workspace Comfort
Ergonomic Desk Setup: Chair, Desk, Monitor and Keyboard Positions
An ergonomic desk setup guide: adjust your chair, desk height, monitor position, keyboard, mouse and lighting for a comfortable, sustainable workstation.
- By GuideTutor Editorial Team
- Published
- Last reviewed
- 5 min read
- Level
- Beginner
- Time needed
- 20–30 minutes
- Works with
- Any desk with an adjustable or fixed chair; desktop and laptop setups, sitting and standing
You’ll need
- Your usual chair, desk, screen, keyboard and mouse
- Books or a stand to raise a screen or laptop if needed
- A footrest or a sturdy box if your feet don’t reach the floor
- A few minutes of normal work to test each change
In short
An ergonomic desk setup arranges your chair, desk, screen and keyboard around your body, so you can work in a relaxed, upright position instead of reaching, hunching or craning. This guide takes you through each adjustment in the right order, starting with the chair. The key tip: adjust the chair first, then bring everything else to you. This is general workspace guidance, not medical advice; if you have pain or a health condition, talk to a doctor or qualified specialist.
Before you start
You don’t need special furniture to follow this guide. Most improvements come from adjusting what you have and adding simple items such as a laptop stand or footrest. The US Occupational Safety and Health Administration (OSHA) publishes a detailed computer workstation guide, linked at the end, which covers the same principles in depth.
Sit in your usual position before changing anything and notice where you feel tension: shoulders, neck, wrists or lower back. Recheck those areas after each step.
Key terms
- Neutral posture: a relaxed position where joints are naturally aligned, such as wrists straight and shoulders down.
- Lumbar support: the curved part of a chair back that supports the inward curve of your lower back.
- Seat depth: the distance from the chair back to the front edge of the seat. Some chairs let you adjust it.
- Sit-stand desk: a desk whose height can change so you can work sitting or standing.
- Task lighting: a lamp aimed at your work area, used alongside the room’s general light.
Step 1: set up the chair
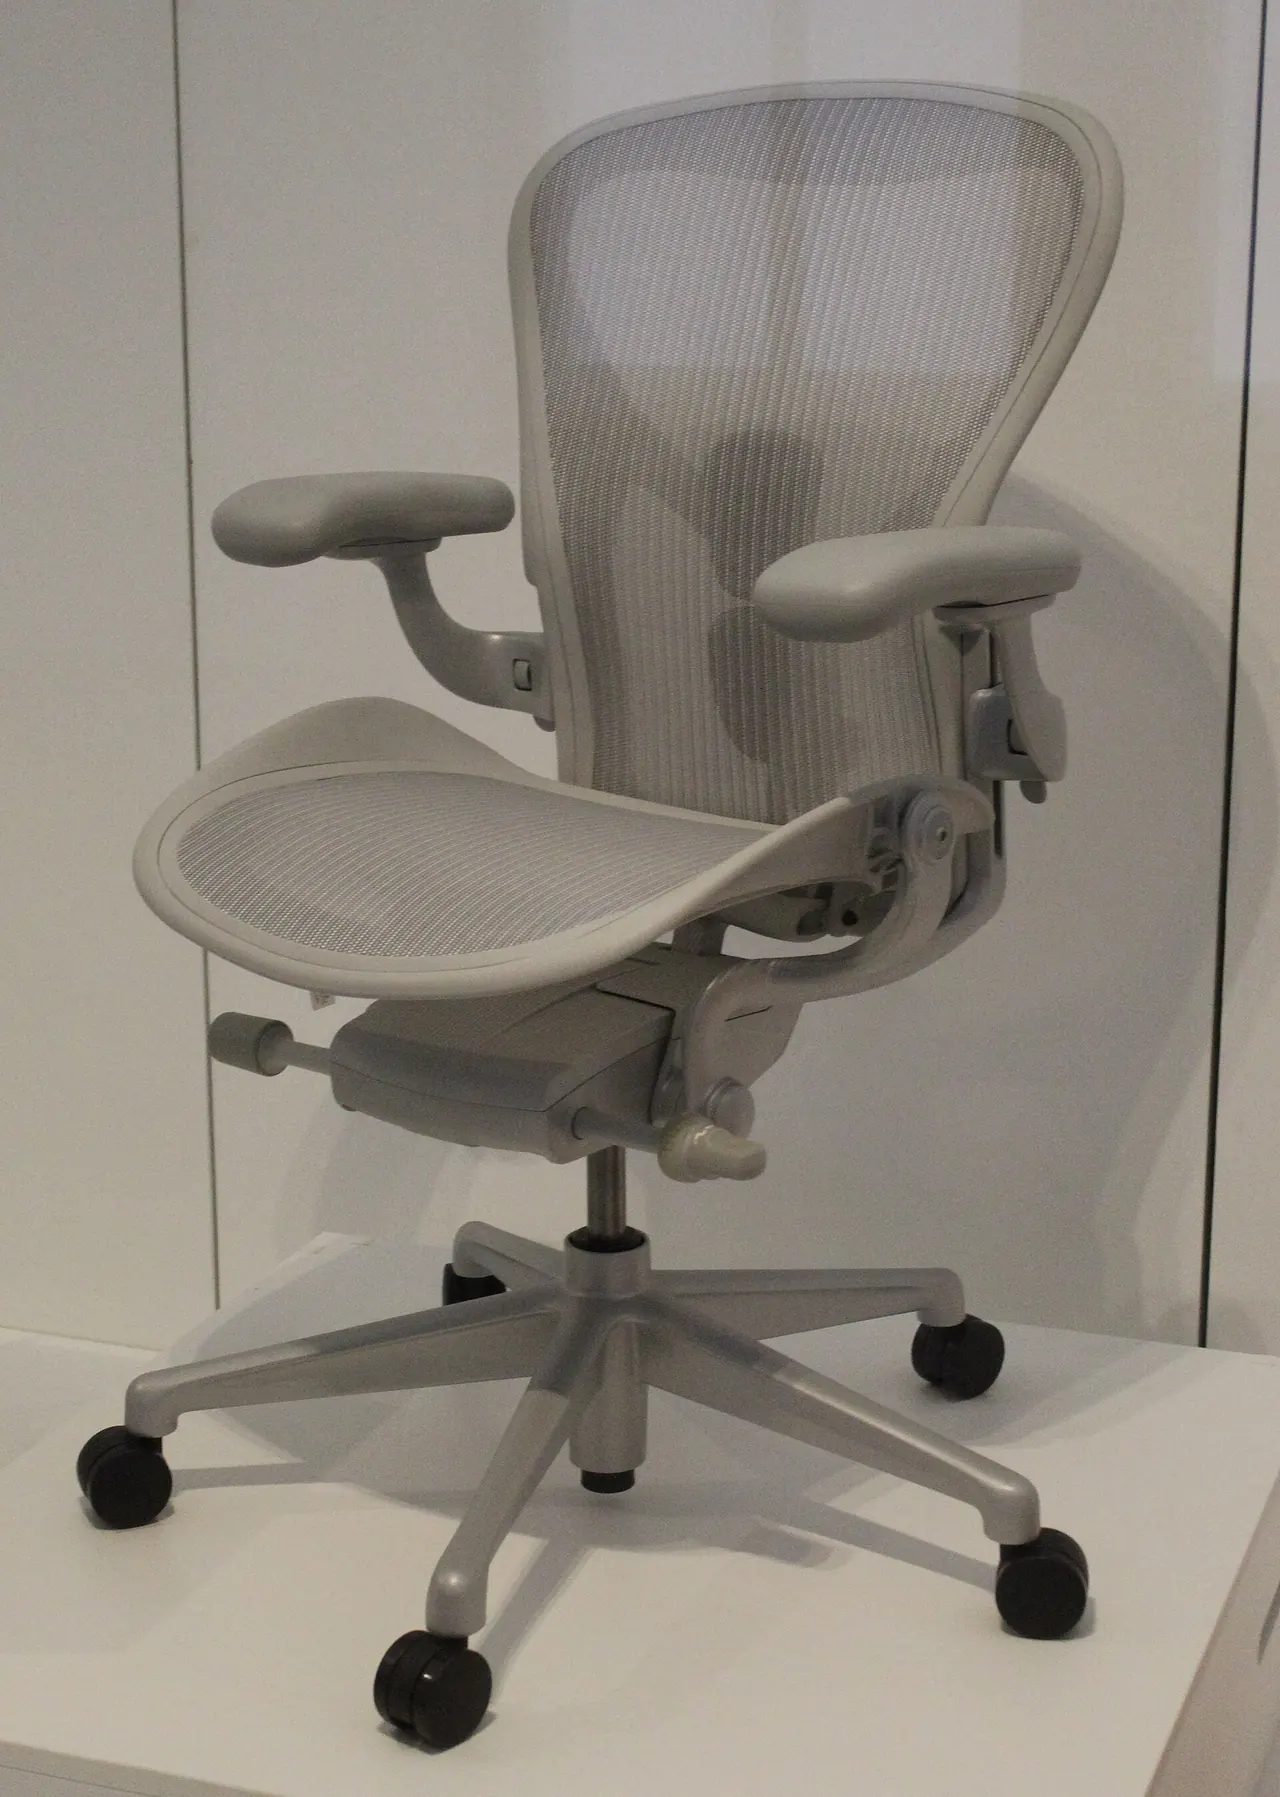
- Adjust the seat height so your feet rest flat on the floor and your thighs are roughly level. If your feet don’t reach, use a footrest.
- Sit right back so the chair supports your lower back. Adjust the lumbar support, or use a small cushion, to fill the curve of your lower back.
- Check the gap between the front of the seat and the back of your knees. You should fit a few fingers there; adjust seat depth if your chair allows.
- Lower or remove armrests that push your shoulders up. They should let your shoulders stay relaxed.
Checkpoint: you can sit back comfortably with your feet supported and shoulders relaxed.
Step 2: bring the desk and keyboard to you
- With your shoulders relaxed, let your upper arms hang by your sides and bend your elbows. The keyboard should sit at about elbow height, with forearms roughly level.
- If the desk is too high, raise the chair and use a footrest. If it’s too low, raise the desk with sturdy risers made for furniture, or use an adjustable desk.
- Place the keyboard straight in front of you, close enough that your elbows stay near your sides.
- Put the mouse right beside the keyboard at the same height, so you don’t reach sideways.
- Keep wrists straight while typing. Flip down the keyboard’s rear feet if they bend your wrists upward.
Checkpoint: you can type and use the mouse without reaching forward or lifting your shoulders.
Step 3: position the screen
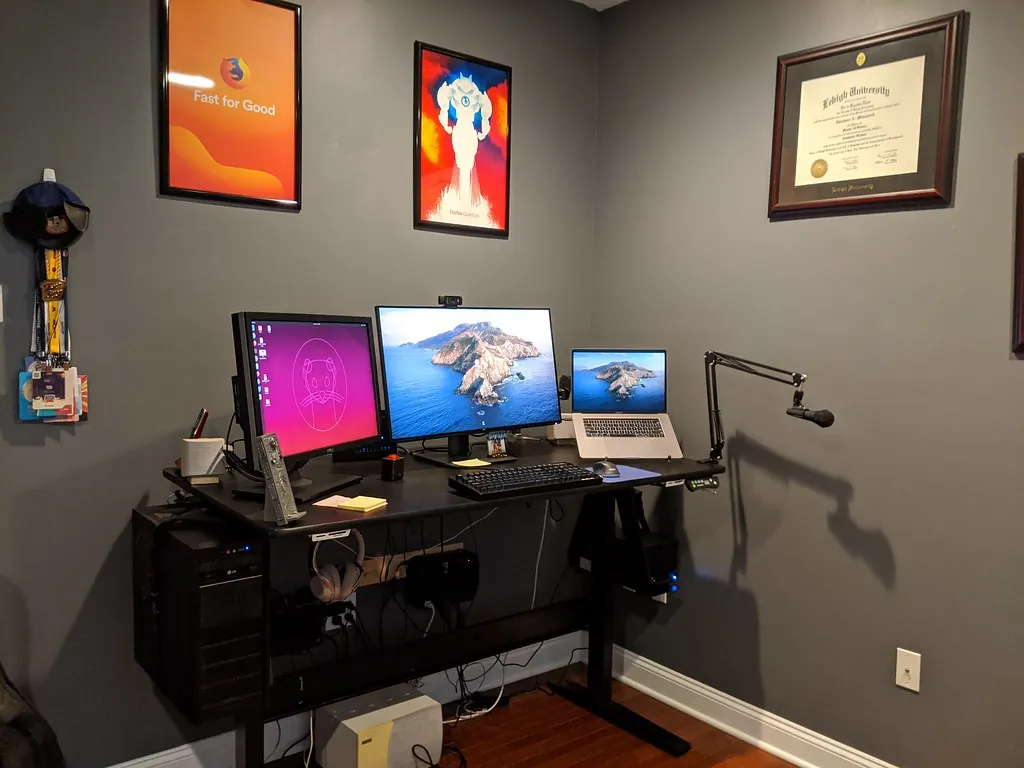
- Place the screen straight in front of you, about an arm’s length away.
- Set the height so the top of the screen is at or slightly below eye level. If you wear bifocals or varifocal glasses, a slightly lower screen may be more comfortable.
- Tilt the screen back slightly so the whole surface faces you.
- For a laptop used all day, raise it on a stand to screen height and use a separate keyboard and mouse.
- With two screens, put your main screen directly ahead. Our dual-monitor workspace guide covers arranging both.
Checkpoint: you can read the whole screen without tilting your head up or down.
Step 4: lighting, standing and movement
- Position the screen side-on to windows to reduce glare, and use blinds when sunlight is strong.
- Add a desk lamp aimed at papers rather than the screen if the room is dim.
- Match screen brightness to the room; a screen much brighter than its surroundings is tiring to look at.
- If you use a sit-stand desk, repeat steps 2 and 3 for standing: keyboard at elbow height, screen at eye level.
- Change position and take short breaks regularly, for example standing up during calls or looking into the distance between tasks.
Check that it worked
Work normally for an hour, then check in with yourself. Your shoulders should feel relaxed, your neck level, your wrists straight and your back supported. Look at the screen without moving your head: you should see all of it clearly. If one area still feels strained, go back to the matching step and make one small change at a time.
If something goes wrong
- Neck ache: the screen is probably too low or too high. Laptops are a common cause; raise the screen or use a stand.
- Shoulder tension: the keyboard or armrests may be too high. Lower them, or raise the chair and add a footrest.
- Wrist discomfort: bring the keyboard and mouse closer, keep wrists straight, and avoid resting wrists on a hard edge while typing.
- Lower back discomfort: sit right back in the chair and add lumbar support.
- Eye strain: reduce glare, adjust brightness and text size, and take regular breaks from close focus.
If discomfort continues or gets worse, see a doctor or qualified health professional. For chair or desk adjustment problems, check the furniture maker’s instructions.
FAQ
What is the right desk height?
The right height puts the keyboard at about your elbow height when your shoulders are relaxed. Because people differ, an adjustable chair or desk is the simplest way to get it right.
Is standing better than sitting?
Neither position is ideal for a whole day. Changing position and moving regularly is a common recommendation, and a sit-stand desk makes it easier. Our guide to choosing an office chair and desk covers the options.
How far away should my monitor be?
About an arm’s length is a good starting point. Move it closer or further until you can read text comfortably without leaning in.
Do I need an ergonomic keyboard or mouse?
Not necessarily. Correct position matters most. Some people find split keyboards or vertical mice more comfortable; try one if a standard keyboard still feels awkward.
Does this apply to laptops at the kitchen table?
The same principles apply. A laptop stand, a separate keyboard and mouse, and a cushion or footrest can turn a kitchen table into a reasonable temporary workstation, as described in our home office setup guide.
Official documentation
- OSHA eTools: Computer Workstations
- OSHA eTools: Computer Workstations, Monitors
- OSHA eTools: Computer Workstations, Chairs
These links go to official help pages from software and device makers or US government agencies. GuideTutor is not affiliated with them. When their instructions differ from ours, follow theirs.